Kitchen Countertops in Austin, TX
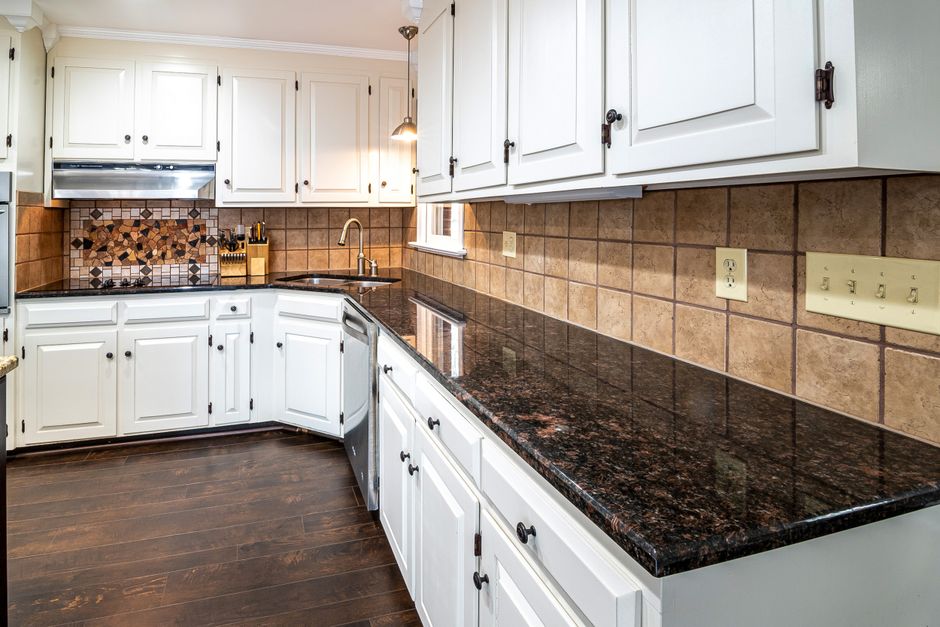
Notes on kitchen countertops in Austin, TX, from how an island overhang is cut to how stone is templated in an old bungalow.
What We Cover
- Butcher Block or Quartz for the Prep Zone How people actually chop, roll dough and set hot pans, and which countertop material suits each work zone in the kitchen.
- How Deep an Island Overhang Needs to Be for Seating What overhang depth lets stools tuck in, which materials need support brackets, and how islands change in Austin bungalows.
- Scheduling a Countertop Install Around Austin Summers How heat, humidity and wet spring storms affect adhesives, sealers, laminate and delivery of slabs to Austin kitchens.
- Sink Cutouts and Appliance Clearances on a Countertop How the sink cutout, range gap and dishwasher opening are laid out so doors open, pans fit and the stone stays strong.
- Templating Countertops in Old Austin Bungalow Kitchens Why walls in Hyde Park and Travis Heights bungalows are rarely square and how a template deals with it before stone is cut.
- Why Countertops Crack When Austin Foundations Move Expansive clay, dry summers and the Balcones Fault area soils can shift a house enough to crack stone at sink cutouts and seams.
Kitchen Countertops in Austin, TX
A countertop in Austin, TX has to fit how the kitchen is cooked in, and the crew's first job is learning that before a slab is ordered. A bungalow in Hyde Park or Clarksville gives a narrow galley with a bowed wall and a sloped floor. A newer house in Mueller gives a wide room, an island and a range on an outside wall. The stone, the wood or the laminate is chosen after the layout, not before it.
Layout comes first
Where the cook stands decides where the stone goes. The sink, the range and the refrigerator set a working triangle, and the prep zone sits along its longest leg. Crews measure that stretch, mark the sink cutout and the cooktop opening from the actual appliances, and keep seams out of the places where knives, water and hot pans meet.
Islands and overhangs
An island turns a kitchen into a room for sitting as well as cooking. Seating needs an overhang deep enough for knees, and the unsupported stone needs brackets or corbels to carry a leaning adult. Butcher block, quartz and granite each handle that span differently, and an Austin summer moves wood more than most buyers expect.
Materials in the heat and the clay
Granite and quartz are rigid, and much of Travis County sits on clay that shifts with the seasons, so support under the stone matters. Soapstone, solid surface and laminate each have a place near the Colorado River, where humid spells slow sealers and adhesives. Choosing a material means choosing how it will behave in July, not only how it looks in the showroom.
Guides
The pages here cover island overhang depth, templating in old bungalows, choosing a prep zone surface, sink cutouts and appliance clearances, cracks from foundation movement and scheduling an install around Austin summers and spring storms.
Latest Guides
Backsplash Height, Outlets and the Wall Behind the Countertop
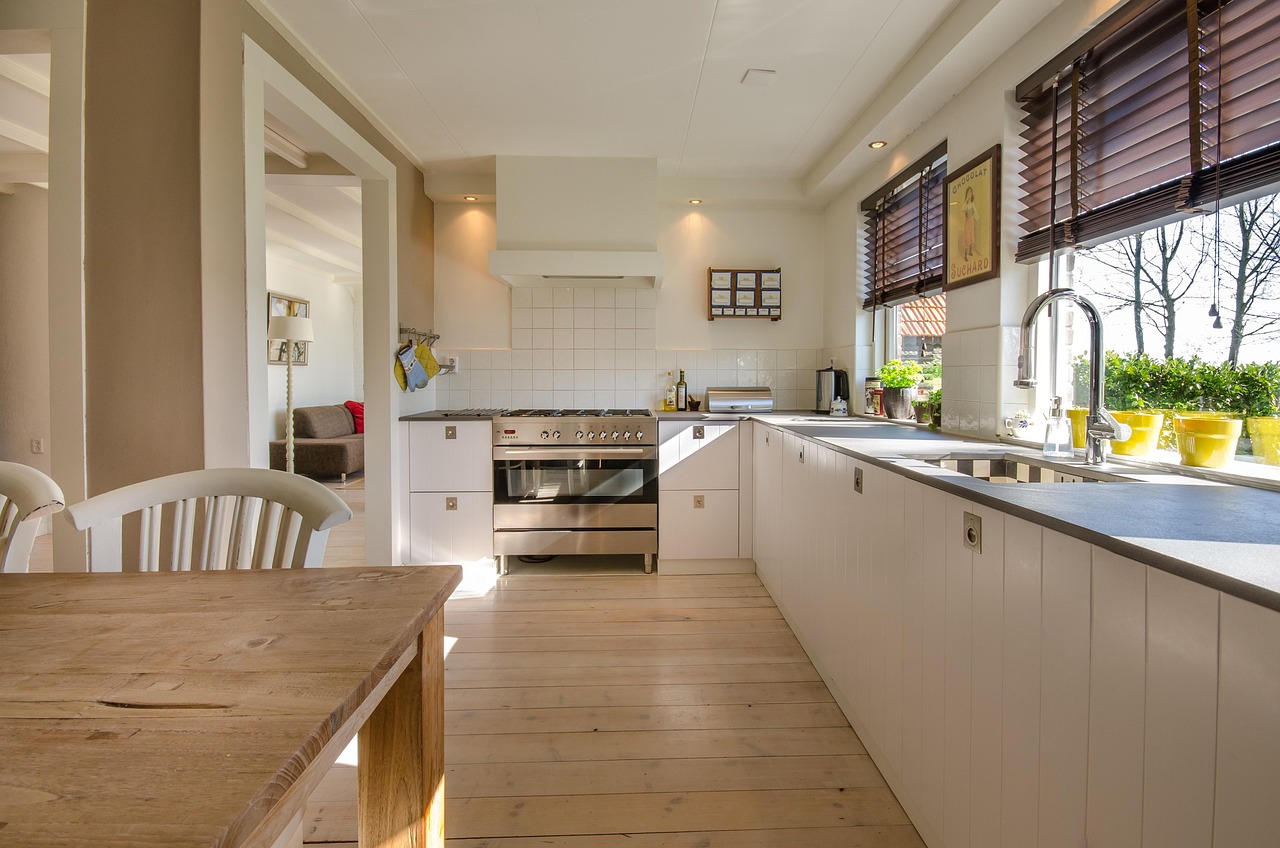
The wall behind a countertop is the part of the kitchen people decide last and regret first. Outlets land in awkward places, a window sill sits lower than the stone, and a tile edge ends in the middle of nowhere. In Austin, TX, where a bungalow in Travis Heights and a new build in Mueller have very different walls, the same handful of questions come up before nearly every template.
How high should a backsplash go?
There are two common answers. A short backsplash of four inches, cut from the same slab as the countertop, protects the wall from splashes and finishes the joint. A full height backsplash runs from the countertop to the underside of the upper cabinets, or to the ceiling behind a range, and is tiled or cut from stone.
The short version suits kitchens where the wall will be painted and the owner wants the countertop to read as one piece. The full height version suits cooking walls, where grease and steam reach the plaster, and it gives the room a place to carry pattern or colour. Behind a range, most cooks choose full height whatever they choose elsewhere, because the wall there takes the most abuse.
Why is a bungalow wall harder than a new wall?
The plaster walls in Hyde Park, Clarksville and Tarrytown were finished by hand, decades before drywall became the standard. They bow, they lean, and the corner where two walls meet is rarely a right angle. A straight edge of stone set against a bowed wall leaves a gap in the middle or at the ends, and the gap has to be dealt with.
There are two ways to deal with it. The fabricator leaves a small amount of extra stone at the back edge, and the installer scribes it, grinding the stone to match the wall line on site. Or the gap is closed with a bead of caulk matched to the stone and the wall. A scribe gives a tighter joint, and caulk is easier to renew when the house moves. Many installers do both, scribing the large errors and caulking the small ones.
Newer drywall walls are flatter, but they carry their own problem. Drywall is soft, and a heavy backsplash tile needs a solid backing behind it. A tile installer checks the wall before setting anything, and sometimes adds a cement board where the surface is poor.
Where do the outlets go?
Outlets are the single most common backsplash surprise. Electrical codes in most places require outlets along a kitchen countertop at regular spacing, and requirements for ground fault protection are standard near sinks. The exact rules depend on the code the city has adopted and on the electrician, so the layout belongs to the electrician, not to the stone fabricator.
What matters for the countertop is how the outlet meets the backsplash. A short stone backsplash needs a cutout for each outlet box, and a square cutout is a stress point in a thin piece of stone, so the fabricator keeps the cutout clear of the ends and of any seam. A tiled backsplash is easier, because the tile installer cuts around the box and the cover plate hides the edge.
The question to settle is whether an outlet sits above or below the finished surface line. An outlet box set for a plain wall will sit recessed behind a tile or stone backsplash, and the cover plate needs an extender to reach the surface. Telling the electrician about the backsplash before the rough in avoids this problem.
What happens at a window?
A kitchen sink under a window is common in older Austin houses, and the window sill is a detail that a countertop template has to respect. If the sill is lower than the backsplash height, the backsplash stops at the window frame. If the sill is higher, the stone can run up and under it. In either case, the joint between the stone and the window trim is a point where water finds a way in, so the caulk there is chosen to last.
Some kitchens get a stone window sill cut from the countertop remnant. It ties the window to the work surface and keeps the same look from edge to edge. The remnant has to be large enough and match the colour and pattern of the main slab, so the decision is made at the template, not after the countertop is installed.
Does the material of the countertop change the backsplash?
It does. Granite and quartz both take a matching four inch backsplash well, since the slab supplies the strip and the colour is the same. Butcher block is more awkward, because wood against a damp wall moves with humidity. A butcher block countertop gets a small gap at the wall, covered by a trim or a caulk line, so the wood can swell in summer near the Colorado River without lifting the tile above it.
Laminate countertops often come with a moulded backsplash built into the sheet, and the curve at the base keeps water out of the joint. Solid surface can be joined seamlessly to its backsplash with a coved joint, which leaves no line for dirt to collect in. Soapstone, which darkens with oil, usually gets a plain flat backsplash of the same stone.
What about a tile backsplash above a stone countertop?
Tile above stone is the most common pairing, and the joint between them is the weak point. The tile installer leaves a small gap at the bottom edge, and fills it with flexible caulk, never grout, because the countertop and the wall move at different rates. Grout in that joint cracks in a season or two, and water gets behind the tile.
The edge of the tile at the top of the backsplash needs a finish too. A tile that ends under an upper cabinet is hidden. A tile that ends in open wall, such as on a short run beside a window, needs a trim piece or a bullnose tile, so the raw edge does not show.
How much does the range hood change the wall?
A range hood sits at a fixed height above the cooktop, and the wall behind it takes both the heat and the grease. The backsplash behind a range usually runs to the bottom of the hood, and in many kitchens it continues to the ceiling in the space above. Stone slab backsplashes are popular here because they have no grout lines to clean.
The practical point is that the hood and the countertop share one measurement, the height from the cooktop to the underside of the hood, which the appliance maker specifies. Settling that measurement early keeps the backsplash and the hood aligned and avoids a visible gap where the two meet.
When should the backsplash be decided?
Before the template, ideally, and always before the countertop goes in. The countertop is cut for a certain height of backsplash, and the tile installer works to the finished surface of the stone. If the backsplash is chosen afterward, the two trades have to guess at each other's edges, and the joint shows the guess.
A reasonable order is cabinets, then appliances, then the wall decision, then the template. A short walk through the kitchen with the electrician and the fabricator, pointing at the wall and agreeing on outlet heights and tile edges, settles most of it in one visit.
Settle the wall before the stone is cut, and the countertop meets it cleanly on the first try.

Where the Cook Stands: Work Triangles and Countertop Runs in Austin Kitchens
Every kitchen has a path the cook walks a few hundred times a week: refrigerator to sink, sink to range, range back to the counter where the food gets cut. A countertop layout either supports that path or fights it. In Austin, TX the houses vary enough, from narrow 1930s bungalows in Hyde Park to wide open plans in Mueller, that the same path produces very different countertop runs.
Why does the work triangle still matter for countertop layout?
The work triangle is the line drawn between the sink, the range and the refrigerator. The National Kitchen and Bath Association publishes a guideline that each leg should run between four and nine feet, with the three legs adding up to no more than twenty six feet. Kitchen designers still use those figures because they describe something a cook feels: too short and two people collide, too long and every pan becomes a walk.
Countertops sit along those legs. The stone between the sink and the range is the prep zone, the stretch beside the range is where hot pans land, and the stretch beside the refrigerator is where groceries land. A fabricator who knows which stretch is which can place seams, cutouts and edge details to match the way the work actually happens, instead of dividing the room into equal sheets of stone.
How long should each stretch of counter be?
Lengths depend on the room, but a few working numbers hold across most Austin kitchens. The table below sets out how the usual layouts divide their countertop and where the trouble spot tends to sit.
| Layout | Where the prep zone lands | Trouble spot |
|---|---|---|
| Galley, two parallel runs | On the run that holds the sink, between the sink and the range | The aisle is narrow, so an open dishwasher door blocks the whole room |
| L shape | Along the long leg, away from the corner | The inside corner is dead space and a seam often lands there |
| U shape | Along the base of the U, opposite the opening | Two inside corners, both needing support below the stone |
| Single wall | Between the sink and the range, if the wall is long enough | Everything is in one line, so the prep stretch is the only landing space |
| Island kitchen | On the island or on the perimeter run, depending on the sink position | Seating overhang and prep work compete for the same stone |
The common thread is that the prep zone wants about three feet of clear surface with nothing in the way. A sink cutout at one end and a cooktop opening at the other are fixed, so the stretch between them decides how much real counter the cook gets.
What changes in a 1930s bungalow galley?
The older houses in Hyde Park, Clarksville and Tarrytown were built with smaller kitchens, often a galley or a short L with the sink under a window. The walls rarely run square, and the original cabinets were built on site, so their depth varies along the run. A countertop in a room like that is cut from a template, never from the drawing, and the template follows the wall the way a tailor follows a body.
Space is the main constraint. A bungalow rarely has room for a full island, so the layout gets its extra surface from a peninsula, a rolling cart or a deeper countertop on one run. Where a peninsula is possible, its overhang faces the living space and the corner nearest the cook gets a rounded edge profile, because that corner takes the most hip bumps in a narrow room.
Appliances in older kitchens are often replaced with modern units, and those do not match the old openings. A new slide-in range is wider than the freestanding stove it replaced, and a new refrigerator is deeper than the one that stood there for forty years. Measuring the actual appliances before templating avoids a countertop that fits the old room and not the new equipment.
How does an island fit into a newer Austin build?
Houses built in Mueller and other newer parts of Travis County come with the open plan: kitchen, dining and living in one room. The island does two jobs there. It holds the sink or the range, and it separates the cook from the rest of the room. The countertop often wraps with a waterfall edge at one end, which carries the stone down to the floor and hides the side of the cabinet.
An island that works needs clearance on every side. Most designers allow about forty two inches between the island and the perimeter counters when one cook works, and a little more with two. Less than that and the oven door, the dishwasher door and the cook's own elbows fight over the same floor. The island overhang, if it is for seating, takes its depth from the side facing the living room, not the side facing the range.
Islands also raise a structural question that older kitchens never face. A large slab of granite or quartz over a freestanding cabinet base needs a mounting plan, and any overhang beyond a modest depth needs brackets or corbels. The fabricator and the cabinet installer have to agree on this before the template, because brackets are fastened into the cabinet frame, not into the stone.
Where do the landing zones go beside the range and refrigerator?
A landing zone is a stretch of countertop where something can be set down right away. Beside the range it takes a pan off the flame. Beside the refrigerator it takes a bag of groceries. Building codes do not require either one, but experienced cooks know when one is missing, because a pot of boiling water ends up on the floor or a gallon of milk gets set on the stove.
The common mistake is placing the range at the end of a run with a wall on one side. That leaves the cook one side only to set things down, and a hot pan crosses the sink area to find a surface. Moving the range one cabinet in from the end gives it a landing zone on both sides without any change to the total length of counter.
A heat tolerant surface helps beside the range. Granite and soapstone handle a pan better than quartz, and butcher block scorches, so the material choice follows the landing zone. Many Austin cooks end up with stone beside the range and wood or laminate elsewhere, and the layout gives each material a job it can do.
How do traffic lines affect corners and overhangs?
People who do not cook still walk through the kitchen. In an open plan, a path from the back door to the living room can cut across the cook's triangle, and the countertop corners along that path take the hits. A square corner on a heavily used path is a bruise and a chip waiting to happen, so the fabricator rounds it with a bullnose or an eased edge and a larger radius.
Overhangs have their own traffic rules. A seating overhang on a path that people cross keeps stools out of the way, so seating moves to the side of the island that is not the main route. Where there is no choice, stools that tuck fully under the overhang keep the path open when nobody is sitting.
What gets decided before the template is taken?
The template is the point of no return, because the slab is cut from it. Everything about layout has to be settled first: which stretch is the prep zone, where the sink and cooktop sit, which appliances are going in, whether there is seating and on which side, and where the seams will fall. A change after the cut means a new slab or a patch, and a patch in a countertop shows.
A sensible order is to settle the cabinets first, then the appliances, then walk the cook's path with a tape measure and marking tape on the floor. That walk through a bungalow near Mount Bonnell or a new build near the Colorado River costs an hour and prevents most of the problems that show up once the stone is down.
Fit the countertop to the cook and the stone will earn its place; fit the cook to the stone and the room will always feel like a compromise.